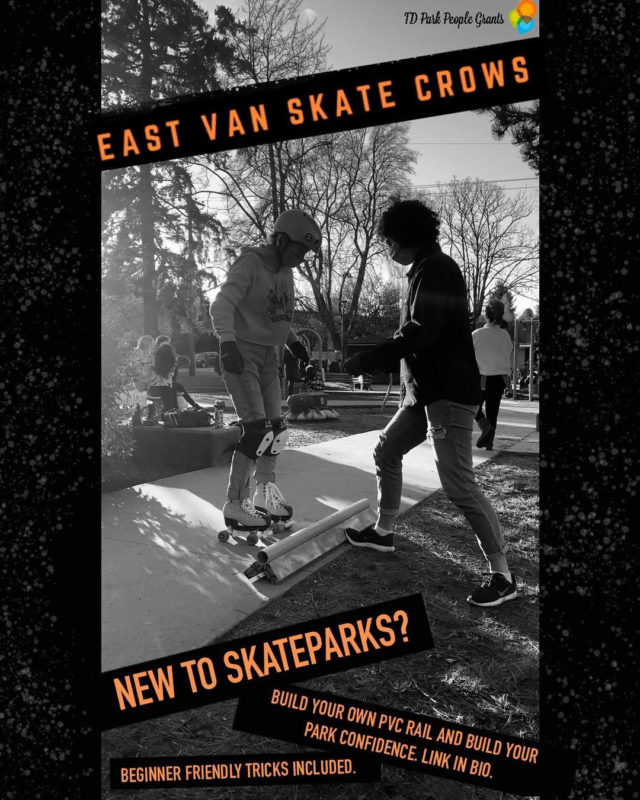
We don’t have many covered spaces to rollerskate and getting to the park on the dry days that are few and far between can be tricky. The solution? A do-it-yourself, portable PVC rail!
So you can learn to grind in your house, carport or basement!
We talked to East Van Skate crows to hear about how their idea to help skaters build their own PVC rails came to be.
“East Van Skate Crows thrived over the summer with outdoor meetups and skating. We held our first free skate camp at Van Tech Highschool one evening in August. It was a group of about nine of us that had connected online. When summer ended, and numbers began to rise, we wanted to keep the community-building momentum going and released our first zine highlighting the folks we’d been skating with. We applied for the TD Park People grant through a recommendation from a friend who was involved. They were piloting a winter grant, and we were accepted.
We had a big list of ideas, but we felt that the PVC rail was ideal since access to parks isn’t ideal during our rainy months, and we wanted to promote that you can skate anywhere! PVC rails are ideal for making skate park practice portable. It’s a huge help with learning to balance, slide, jump, and stall. It transitions well to tricks that use coping, ledges, and rails with the benefit of being about to bring it inside your home or on grass (for a softer landing) without needed access to specific features. It meant a lot to us to bring this to people at no cost and help the community come together and learn in a time when being apart is more of a reality than ever.”
I took part in this skate camp and can confirm it was AWESOME.
I am not the handiest person, so I was worried about assembling the rail, but they made it super easy. I’ve been having a ton of fun practicing hopping on and off and slowly learning to slide along it. It’s a lot of fun and a good way to mix up practice when rollerskating in a small space. So, I thought I’d share how you can build your own. My sister was helping me build the rail.
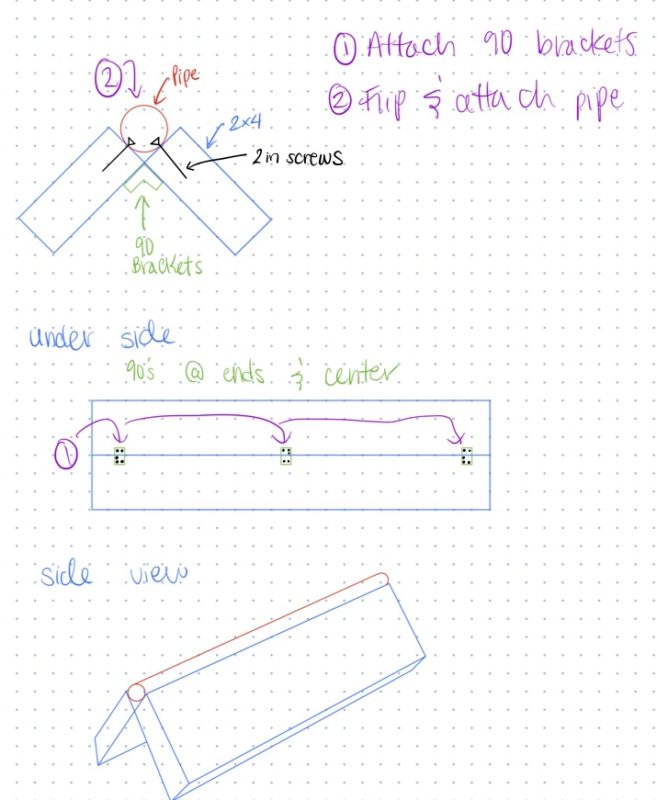
Naturally, her inner engineer drew up this very helpful diagram to explain how all the pieces fit together.
For those of you who want to build a PVC rail of your own, here’s what you need.
- 2 x 2x4s
- 1 x Piece of PVC (the same length as the 2x4s)
- 3 x 90-degree brackets
- 4 x 2in screws
- 15 x 1in screws
A drill is recommended but not essential
The assembly will look like this. Keep scrolling for step-by-step instructions.
Step 1
Attach the 2x4s by screwing in the 90-degree brackets

Step 2
Attach the PVC pipe. To do this, you’re going to need to drill in the longer, 2in screws, at an angle on the very end of the rail. You’ll see in the diagram that you’re drilling the pipe into the 2x4s length-wise.
Step 3
Paint it and start grinding!
Vancouver, BC local? Our YVR club offers skatepark classes when the weather dries out!